One of ServiceNow’s greatest strengths is its flexibility and the creation of near limitless possibilities. This same principle carries over into the Service Portal and the development of custom widgets. If you’ve ever found yourself wishing you could import a cool Javascript library or a new font or stylesheet, I would tell you, you can! The Service Portals Widget Dependencies allow you use third party libraries or stylesheets in your widgets opening up tons of possibilities.
A Widget Dependency is a collection of Javascript and CSS files that links a widget to any external resources. You can include JS libraries, CSS stylesheets, fonts and even custom angular modules within a dependency. For this tutorial, we’ll be using the Slick Carousel library. You can check out the Slick repository here and it’s supporting website here. Also, if you’d like to download the full Slick Carousel Widget featured in this blog post you can follow this link: The Last Carousel Widget You’ll Ever Need.
Step 1: Create your Dependency
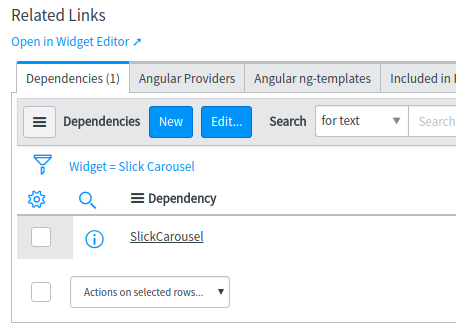
The first step is to create your widget dependency. You can do this by viewing your widget of choice and scrolling to the widget’s related lists.
When creating a dependency I recommend doing so within the global scope. This way you can reuse this dependency in other widgets or themes.

Dependencies have three fields: Name, Include on page load and Angular module name
Name - The name of your dependency
Include on page load - When true, the dependencies are loaded during the initial page load. If false, the dependency loads when its linked Widget is loaded
Angular module name - This is an optional field used when bringing in angular modules. You need to enter the name exactly as it’s defined in your module

After saving your new dependency you’ll be able to add your JS and CSS includes, which brings us to Step 2.
Step 2: Create/Add your JS and CSS Includes
In this step you’ll add the third party libraries into your dependency so they can be used by your widget. There are two methods for creating a JS or CSS include. The first is by URL. You can quickly and easily link your widget to a public CDN by simply pasting in the URL. The second option is to copy and paste the code into either a UI Script or a CSS Stylesheet. You can also write your own UI Scripts or Stylesheets of course! In this demo we’ll use both the UI Script and CDN methods of creating Includes.
Using a UI Script:
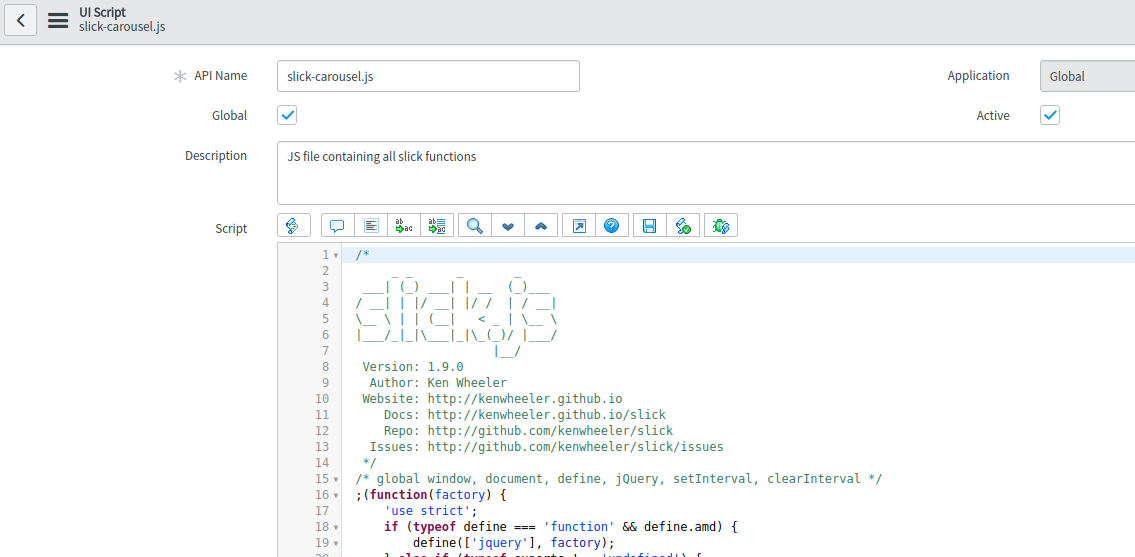
The first thing we’ll need to do is create our UI Script. To do this navigate to System UI > UI Scripts in the application navigator and click ‘New’. From there we give our UI Script a name and description and paste the javascript code from the slick repo in the script editor.

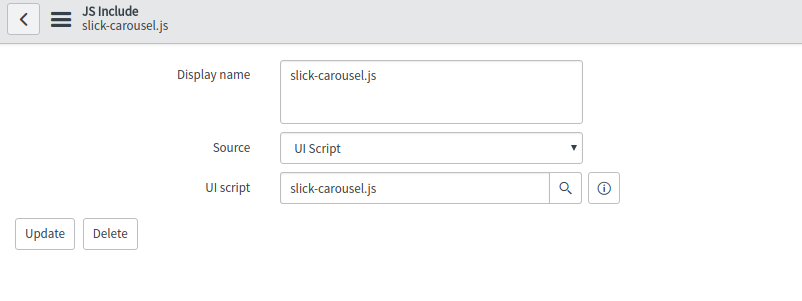
Now that your UI Script has been created you can reference it from your JS Include. Navigate back to your dependency(Service Portal > Dependencies) and create a JS Include in the related list at the bottom of the form. Give it a name and select the UI Script option within the Source choice field. This will display a reference field for the UI Scripts table where you’ll be able to reference the UI Script you just created.

You can also import/create custom angular modules using UI Scripts and loading them into your dependency. For example, you can create your own custom angular filters which aren’t included OOB. If you’d like a blog post specifically on this topic, send me an email and I’ll make it happen!
Using a CSS Stylesheet:
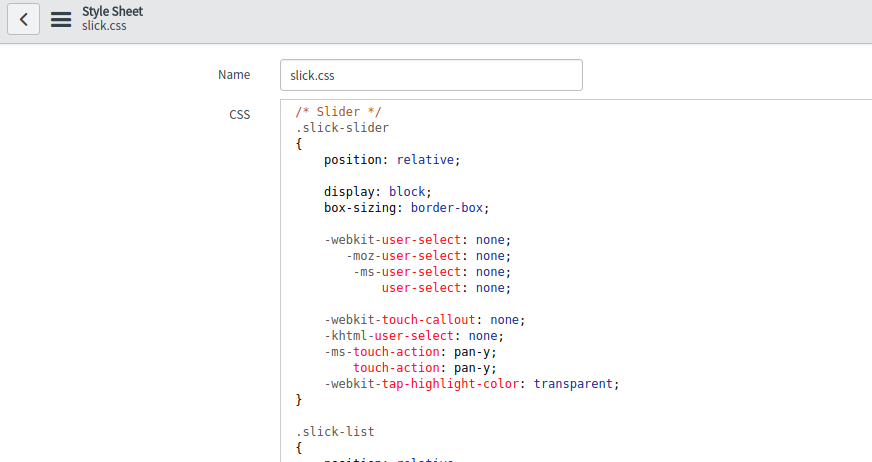
Creating CSS Includes follow a very similar process as JS Includes. First we’ll need to create a Stylesheet. You can do this by searching Service Portal > CSS in the application navigator and creating a new record. In the form view, give your stylesheet a name and paste in your css.

Now just navigate back to your dependency and create a new CSS Include. Give it a name, choose the Stylesheet option in the Source field, pick the Stylesheet you just created and click submit!
Using a CDN or URL:
Often times I find myself in need of a font that ServiceNow doesn’t offer out of the box. So how can I import fonts into my Portal? Well the answer is… Dependencies! A great resource and quick and easy solution is loading in Google Fonts through their public CDNs. For instance, with the Slick widget I created I use the Pacifico font to mirror the font used in Ken Wheeler’s demo site.
To add your own Google Fonts, go to the CSS Includes Related List within your Dependency and click New. Give it a name, and this time we’re going to select ‘URL’ in the Source dropdown. Copy the href from the font you chose and paste it into the CSS file URL field. After you submit you can start using it within your widget!

Here’s a code snippet where my font is used:
h1 {
    font-family: Pacifico;
}
If you find a font you want to use which doesn’t have a CDN or URL available, there’s still hope! You can create a CSS Stylesheet and create your own @font-faces by adding the font’s files into your instance as attachments. Then set the src: url() as a path to their sys_ids in the sys_attachment table. I like to give people what they want so If you’d like to see a blog post/tutorial on creating your own @font-faces send me an email and I’ll post one soon!
Step 3: Start creating awesome stuff!
Take advantage of all the great libraries out there and start building amazing widgets/portals! ServiceNow offers endless development possibilities, so have fun and start creating great stuff!
Here’s what I made! You can download this widget here
For information about our services or to contact us about your ServiceNow needs, give us a call at 518-441-6988 or visit our website at jahnelgroup.com.
If you’d like to reach out to me, you can reach me by email at dmann@jahnelgroup.com.